
It's Everett Henley Week at Holla Knits! Be sure to snag the pattern for 50% off this week- that's just $3! Get it while it's hot, people.
This week, we're taking a closer look at the Everett and what you can do with it. Earlier this week, we went over some styling options for spring and winter, and today, we're tackling modifications. Hold on to your hats.
The way I see it, there are two main modifications that will totally change the look of the sweater: losing the Henley neckline, and changing the curved bottom hem to a straight, ribbed hem. These are both easy mods!
If you'd like to create a crew neck sweater instead of a Henley, here's how:
You're following the charts for the left and right front. When you reach the row where you'd normally cast on 2 stitches to each front, then continue working back and forth until the placket is complete, instead cast on 8 stitches, and join to work in the round. The 8 stitches are a new lace repeat. Your front will have the same number of stitches and lace repeats as the Henley version front. Then just ignore any further instructions regarding the placket/button bands. When you knit the neckband, pick up one stitch from every cast on stitch of the back, sleeves, and front, and 2 out of 3 stitches in the neckline increase sections. Knit 5 rounds, then bind off in knit.
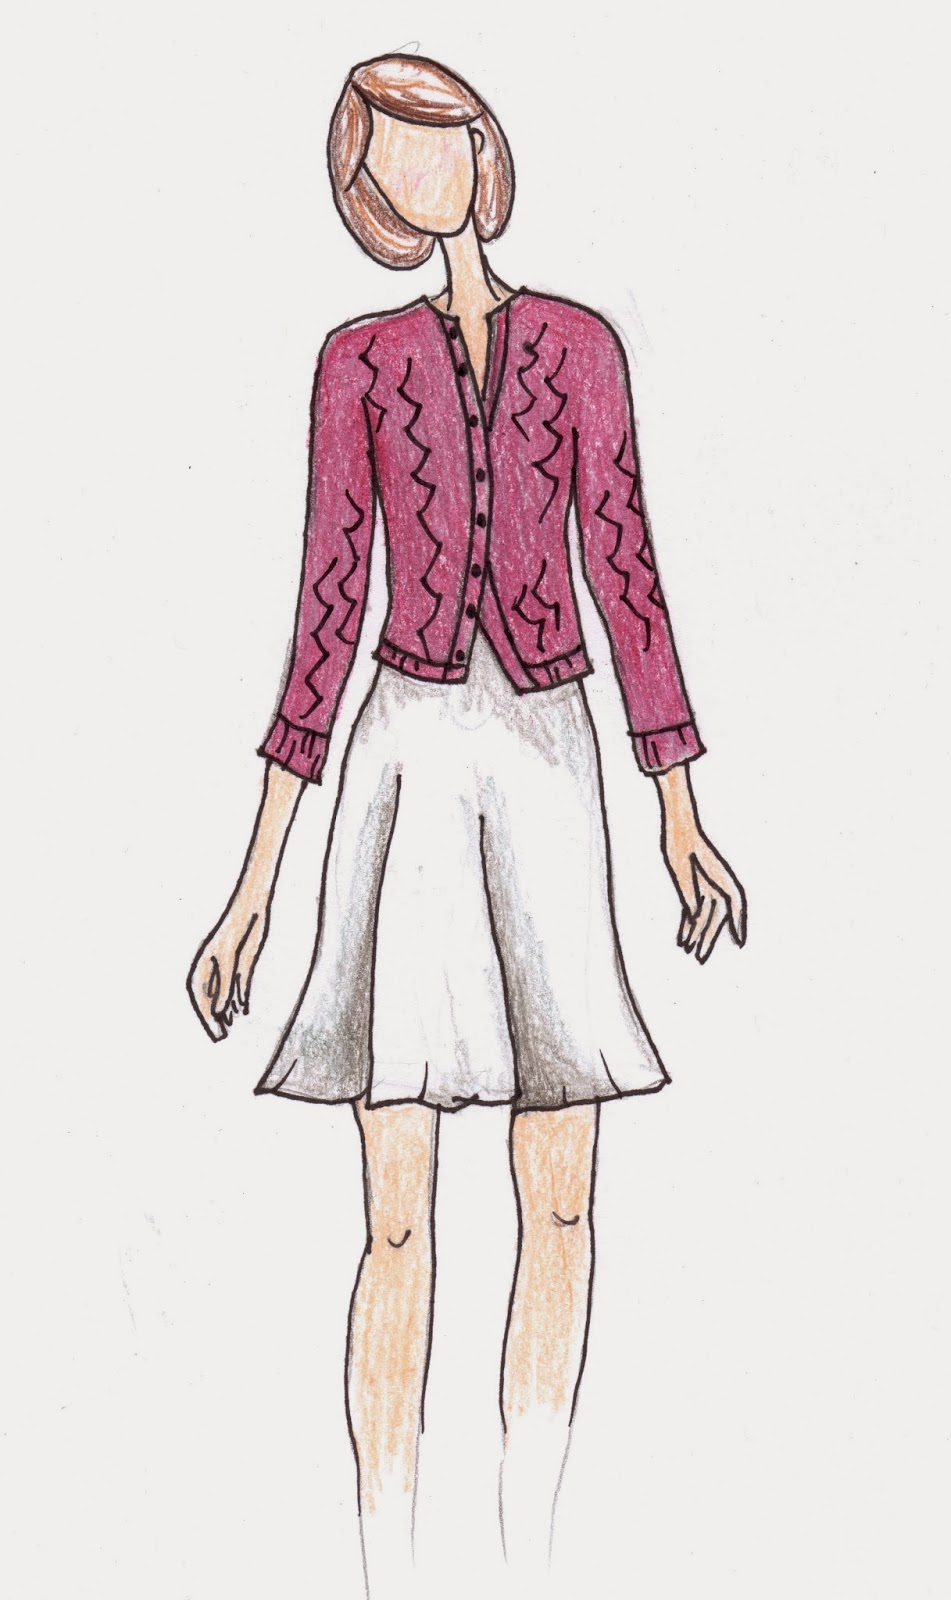
.jpg)
(Crew neck AND straight hem. Modification city!)
To change the curved bottom hem to a straight hem:
This one is easier than the neckline modification. Ignore all instructions about the curved hem and the i-cord. Simply work in the round in the lace pattern until the sweater is a few inches shorter than you'd like, then switch to a needle one size smaller and work k3, p1 ribbing for a few inches. Bind off using a stretchy bind off, like Jeny's Surprisingly Stretchy Bind Off.
(Cardigan!)
A more serious modification is turning the pullover into a cardigan. (I am actually attempting this one for the HKKAL- that's the Holla Knits Knitalong, if you're not hip to the lingo of the knitting world.)
Here's my plan:
I followed the charts for the fronts, including casting on 2 stitches to each front as called for in the pattern. I am going to ignore the instructions for the Henley placket and simply continue to work back and forth, with the two stockinette stitches at each side of my work. I'll ignore the curved hem instructions and work until the cardigan is about 2 inches shorter than I want, then I plan to knit k3, p1 rib for 2 inches on smaller needles. After that's done, I'm going to pick up stitches along each side and knit button bands, probably in stockinette (which will mean the edge will roll just a bit.) I think I will skip button holes and sew snaps under the buttons- I think that snaps hold better and pull less in close-fitting cardigans. Then I will pick up stitches as described in the pattern for my neckband. Easy (I hope), and a totally different look than the original design.
Of course, you can always modify the length of the torso and the sleeve length.
So, make the Everett Henley your own! That's the beauty of handknits- you can make whatever you want. And you should!
No comments:
Post a Comment